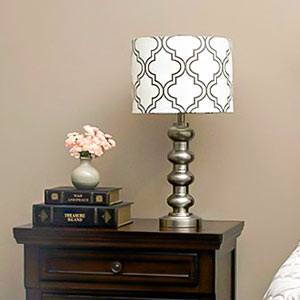
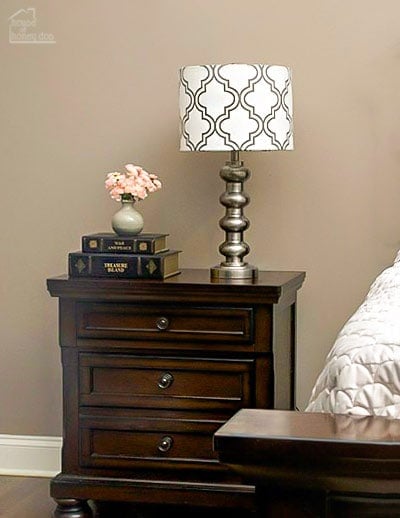
Take a look at your lamps or any lamp for that matter. What initially jumps out at you? The lampshade, right? Well, that’s what I noticed when I looked at my nightstand lamps. Unfortunately, they were just boring, white, blah! That was before I did the easiest drum lampshade makeover! All it takes is a little fabric and a few common household supplies.
This post may contain affiliate links. (*) If you make a purchase using my links, I may receive a small commission. Please feel free to check out my full disclosure for more details.
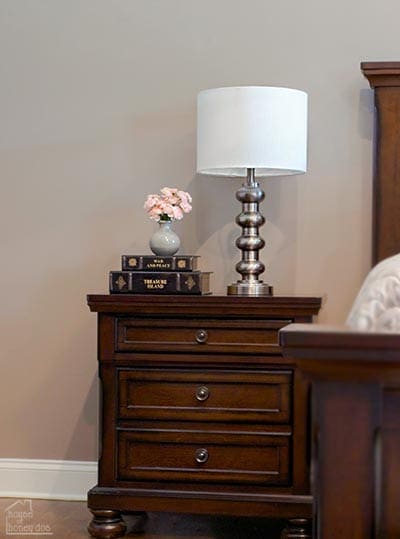
As you can see, my lamps were kind of boring. I liked the lamp well enough, but that stark, white, drum shade had to go. It was doing absolutely nothing for my decor style.
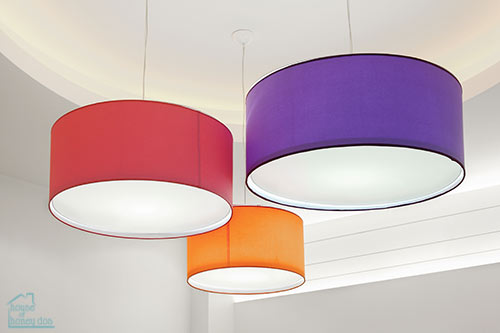
Just a tip – I almost always buy drum shades when I pick up a new lamp. The shape makes them the easiest to perform a makeover on later. As you can see, there are so many different styles that can be added! So, let’s see how I did this alteration.
Materials Needed for a Lampshade Makeover
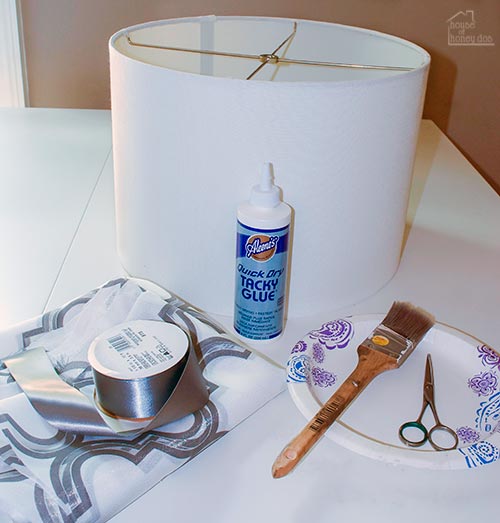
- Lampshade* (drum lampshades are by far the easiest for this kind of project)
- Fabric (any medium to lightweight fabric)
- fabric glue*
- paintbrush
- scissors
- ribbon/fringe for trim (optional)
- clips *
Prepping for the Makeover
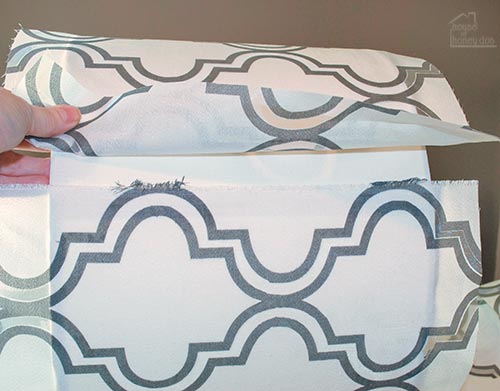
Before you get started with the lampshade makeover, you will want to first make sure that your fabric is wrinkle-free. This makes a much easier and smoother job. If needed, iron the fabric.
Next, measure and cut your fabric to the size of the drum shade. You will need to add 1” to both the length and the width.
If your fabric is lightweight, or semi-sheer, you will need to thin the glue. I use 3 parts glue to 1 part water. Thinned glue is also much easier to work with and will not leave bulges under the fabric.
Instructions
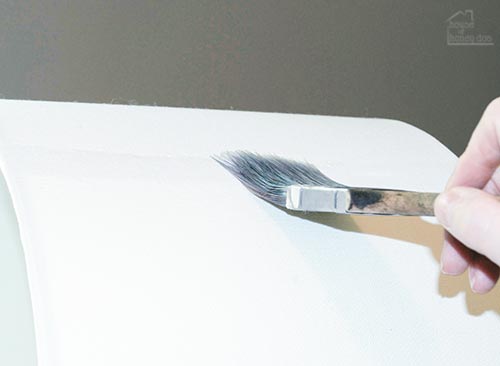
Using a brush, paint the glue onto the lampshade. Moving from side-to-side, cover about 6″ around the circumference.
Attach the fabric to the wet glue section, smoothing out all bubbles and wrinkles. Make certain that no wrinkling is left.
Continue working your way around the lampshade in 6” increments, gluing and smoothing the fabric as you go.
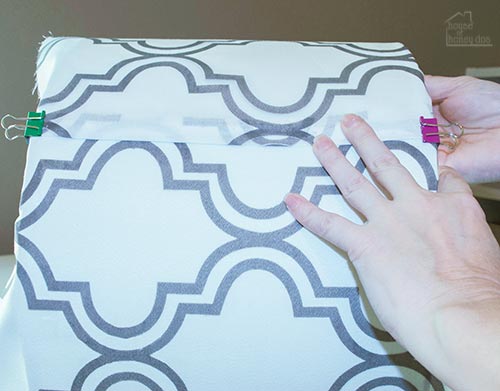
Once you have worked your way all the way around to the end, fold under the extra length, creating a nice even fold.
Place a bead of glue where the seam will attach. Use full strength glue for the final seam because it will require a bit more strength.
Smooth the seam and clip down the ends at the edge to hold it in place. I used document clips, but clothespins would work as well.
Allow this to dry completely before moving on to the next steps.
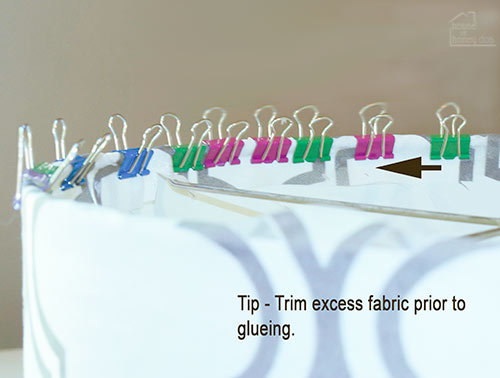
Next, check to see how much fabric you have to fold over the top and bottom edges. Trim it down until you have just slightly more than you need to completely cover the round wireframe. If you leave excess fabric it may show through when the light is turned on.
Once the fabric edges are trimmed, place a bead of glue along the edge of the wireframe at the top of the shade and along the inner edge of the top frame.
Begin folding the fabric over and in. Clip it in place as you work your way around the rim. You will need to use several clips to keep the fabric in place until it dries.
If you do not have enough clips to work the entire edge, you can work it in small sections. Allow each section to dry before removing the clips and moving onto the next section.
Allow to dry thoroughly and then repeat the process on the bottom rim.
To add even more pizazz, you can add trim to the top and bottom edges. I choose to not use the ribbon trim on my lampshade. However, trimming the top and bottom of the shade can give a more finished look. Feel free to embellish yours to suit your taste.
Once the shade is completely dry, place it back on the lamp and admire your work!
Final Comments
I always enjoy coming up with ways to update the old or turn trash into treasure. There is hardly anything out there that can’t become a valuable piece of decor if you put your mind to it. From lampshade makeovers to repurposed wine bottles, it is fun to find a way to put the old to new use. Take moment to look around and see what else you can find!