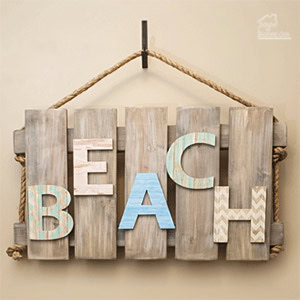
Do you like to recycle old wood pallets? I can always find a use for all that wood. Sometimes I will even make wall art that imitates wood pallet upcycles. Today, I am going to show you how to create a themed piece of wall art using wood pallets, or in my case a faux wood pallet. My theme is rustic beach, but feel free to use any theme you like.
This post may contain affiliate links. (*) If you make a purchase using my links, I may receive a small commission. Please feel free to check out my full disclosure for more details.
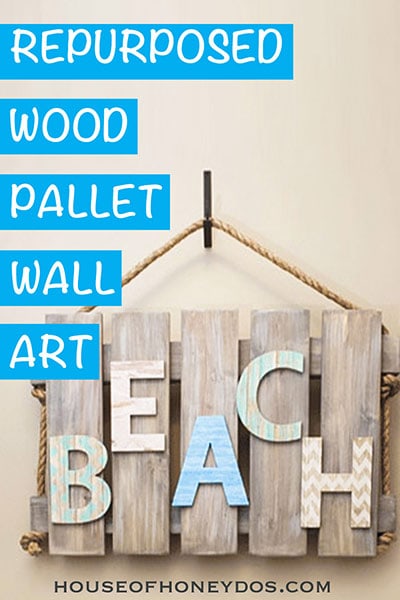
Materials Used
- (5) 1×6 cut to 22″ (old pallet boards will work)
- (2) 2×4 cut to 36″
- 10′ of rope
- Mod Podge*
- 5 sheets of decorative craft paper*
- letters (I purchased mine for $1.99 @ Hobby Lobby – prices may vary)
- stain* (I used Dark Walnut by Minwax
- white paint or your favorite whitewash
Tools Needed
- drill
- drill bit in the same size as rope
- orbital sander (optional)
- nail gun (or hammer & nails)
- Loctite Power Grab *
- scissors
- paintbrush
- rags
- exacto knife or blade
Instructions for Making Wood Pallet Wall Art
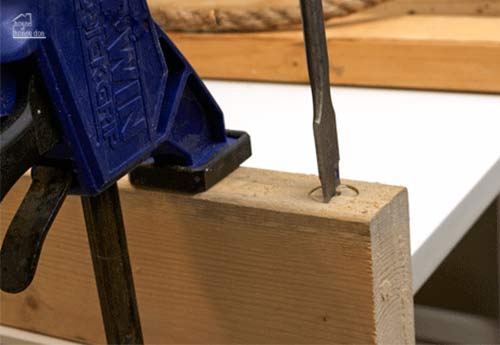
The first thing that I did was to drill the holes for the rope. To do this, I clamped the 2×4 to my work table, so that the narrow edge was facing up, and drilled a hole 1″ from the ends.
After the holes were drilled, I sanded the ends of the boards to remove the roughness and any jagged bits.
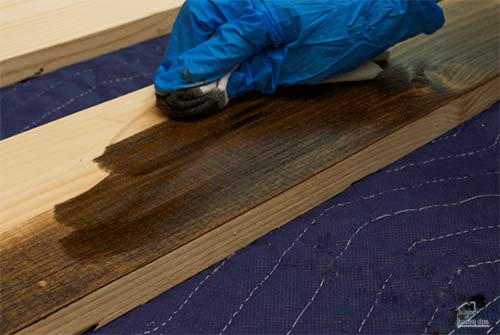
Next, I applied a driftwood finish. I prefer to use rags for applying stain, but a good brush will work as well.
For the first layer of the driftwood finish, I used a dark stain. You can use any color to change the final look to fit your taste. I just like to use whatever I have on hand, and I happen to have plenty of this dark walnut stain.
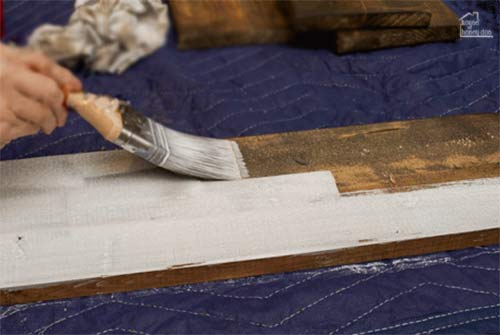
Once the stain was dried, I added the whitewash finish. You can use a store-bought whitewash if you prefer, but I just make mine up with leftover white paint.
To make the wash, I generally mix approximately 1 part white paint to 3 parts water. You can vary this a bit to get a good constancy that feels right for you.
To apply the wash, I just quickly covered the board with the mixture. It is watery, so be careful with drips. Make sure to go with the grain of the wood, and cover all the areas that need to be covered.
After the board was covered with the wash mixture, I let it set for about 30 seconds and then quickly wiped it away with a clean rag. Again, go in the direction of the grain.
This will leave the wood with a washed-out faded appearance. It can be further faded out with additional coats between drying. However, I decided to stop with just one coat.
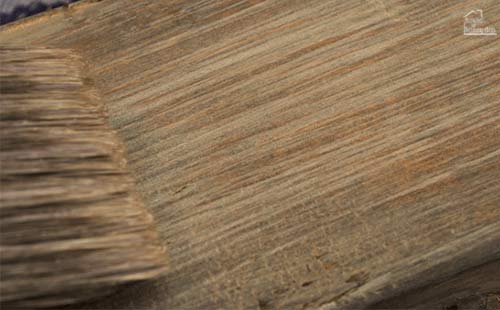
Once the wash had dried a bit, I began adding some accenting. For this step, I just lightly dipped my brush back into the wash mixture, dabbed off most of the paint, and very lightly dragged the brush across the wood, going with the grain.
The paint will dry to a much more muted version than it appears when wet, so don’t be concerned if it looks stark at first. I have used this wash mixture method before to create lots of different weathered effects.
For darker driftwood, check out my post on building a console to see how I obtained a dark weathered appearance.
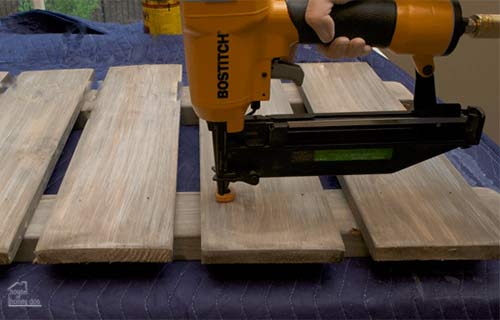
Once everything was dry, I began to assemble the boards. For this step, I laid the 1×6 boards over the 2×4 boards. I left 2″ of the 2×4 protruding on each end to leave room for the rope.
The 1×6 boards were spaced visually, but if you want it precise, you can measure and divide it up. I’m more of a “wing-it” type of gal on the easy stuff.
Anyway, after everything was all lined up, I just quickly nailed it in place with my nail gun, placing two nails at each end. (just like a fence)
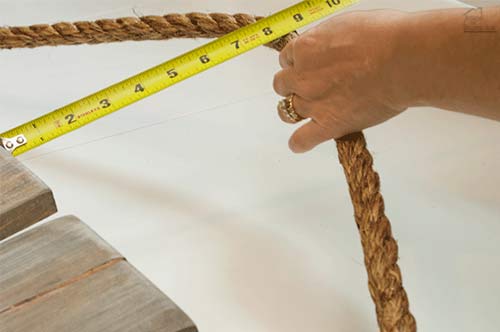
Finally, I was ready for the rope. One thing I want to point out here is that the thicker the rope, the harder it is to create a knot. I wanted the thickest rope that I could find at Lowes, which meant that I had to maneuver and pull to get the knots tight.
To get the rope right, slide the ends through both sides until the hanging portion fits the exact length that will be needed for your wall. On my wall, I knew that I wanted the piece to hang down 8″ lower than the hook. So, I measured the rope to allow for exactly 8″ from the top edge.
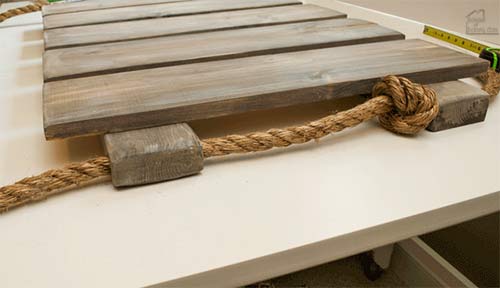
After the rope was measured to allow the right amount of hang, I began by tying a knot at the top hole. To have both of the knots shown in my picture, make sure to tie this knot first. Then, pull the rope through the bottom hole. Repeat this process on the other side.
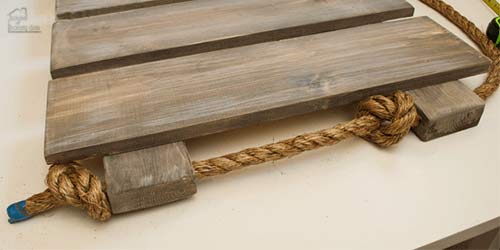
Finally, I tied off the lower knot. Make sure that the knot sits so that there is not any slack in the rope between the 2×4 sections. You want it to be nice and snug. It can take a little bit of finessing, but keep working on that knot until it is just right.
At this point, you should have all of the excess rope left at the end of this knot. You can see in this image that I have just a small amount. To cut off the extra, I first wrapped it with blue tape and then made a clean slice through the rope. I then used a little bit of the Loctite glue on the end to keep them from unwinding.
Tip: A sharp PVC pipe cutter will work to cut rope amazingly clean. If you don’t have one, a sharp blade or utility knife will work.
More related posts on repurposing decor:
Check out how I upgrade lamp shades with fabric!
How to paint wine bottles for fabulous budget-friendly decor and centerpieces!
Beachy Letters
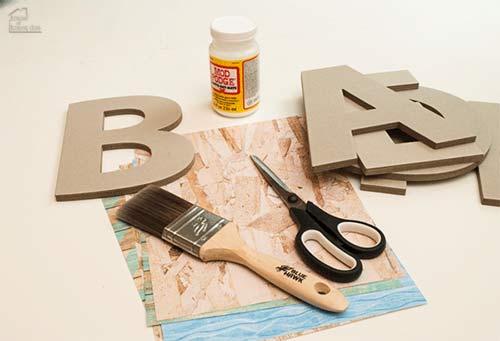
Now for the fun part. We get to decoupage the letters! For this, I chose my craft paper in colors that I thought would look nice on the wood. So, this is purely a matter of taste. Feel free to go with whatever suits your fancy.
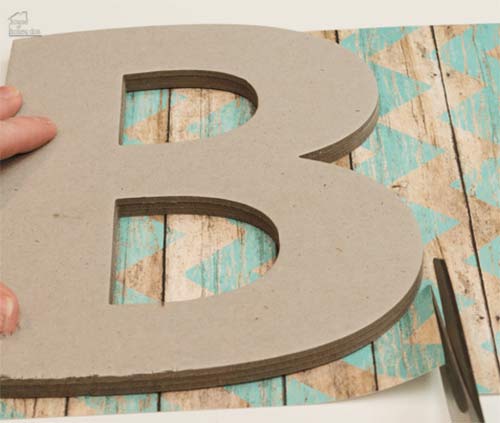
First, I cut the paper down to a better fit for the letters. No need to waste the whole sheet. Besides, I may use the extra for some small letters later.
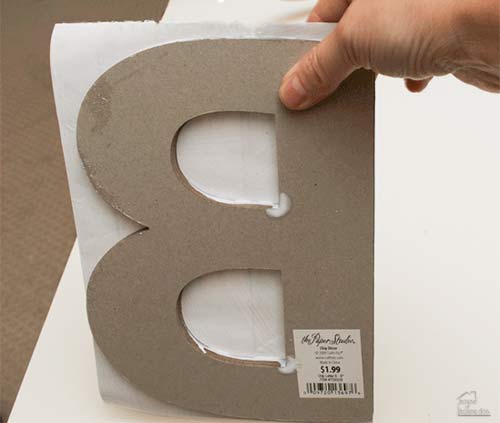
Next, I used my paintbrush to apply the decoupage to both the back of the paper and to the front of the letter and then attached the paper to the letters. I found that applying it to both pieces makes it easier to maneuver the paper into place.
With the decoupage on both pieces, you can slide the paper back-and-forth a bit. With decoupage on just one or the other, the paper is more difficult to move and can result in rips or bubbles.
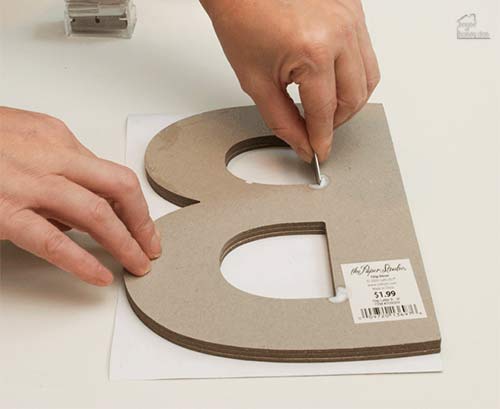
Once the decoupage is almost dry, I began to score around the edges. I like to use a straight blade because it allows me to lay the blade flush against the letter. Most people prefer to use an Exacto knife. Either way is fine as long as you are careful.
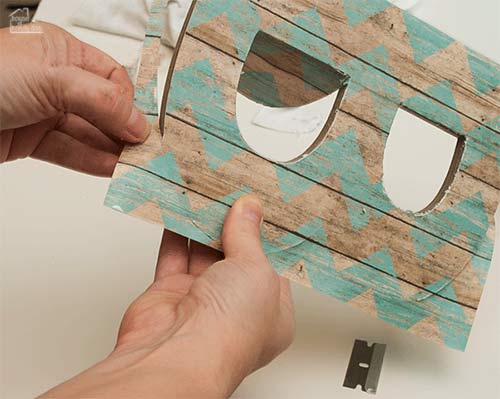
After I scored the back, I flipped the letter over to remove the excess paper and to clean up the edges. Here, my blade was so sharp that I was able to just push down on the paper, and it separated cleanly. Had it not, I would have gone over it with the blade from the front side.
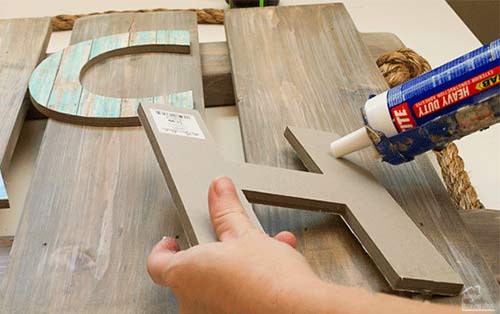
Finally, I was ready to attach the letters. I used the Loctite for this as well. Since these letters are so light, and I didn’t want to ruin the finish with holes, I chose to not use anything but the glue to attach them.
Related posts on papercrafts:
Repurpose old boxes with contact paper and use them for office storage!
It has been hanging for a while now, and I am happy to report that nothing has fallen off. Everything is still tightly in place. So, I would say forget nails for the letters.
Just spread some of the Loctite glue over the back of each letter and press it into place. I staggered mine, but you should place them in whatever manner looks right to you.
And now, drum role please……………
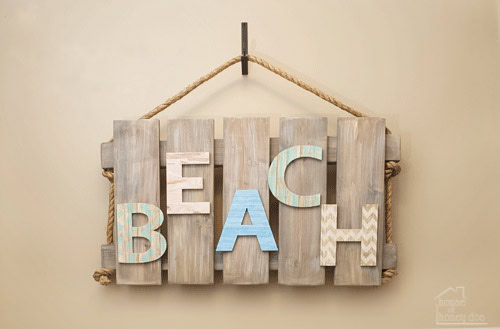
An easy DIY beach wall art that you can be proud of! I hung this in my twin boys’ bathroom. It matches their nautical beach-themed design, and it adds something to this wall that I have been wanting to decorate for awhile. So what do you think? Where would you hang something like this?