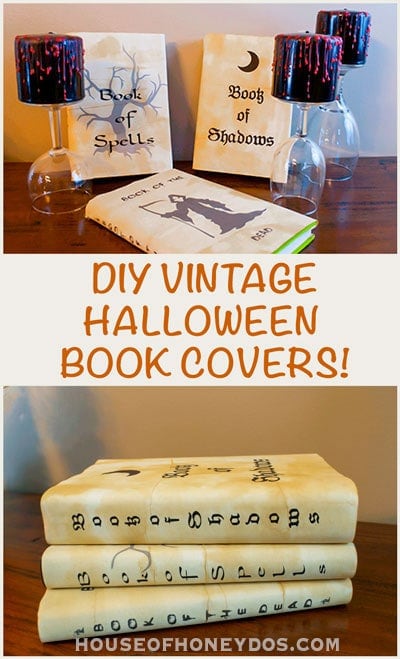
I love making things look a little spooky for Halloween. One of my favorite projects to do is to make some vintage, Halloween, book covers.
I made these back in 2015 and shared it with Hometalk. Since then, these have been replicated so many times that I lost count. I thought that this would be a good time to dust off the old books and republish this easy DIY.
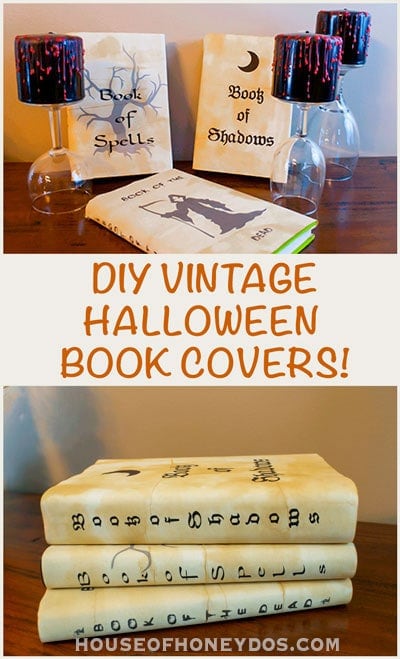
Of course, these don’t have to be restricted to Halloween. I have also done this for birthday party themes (think westerns) and I have used these for wedding decor. Anything that requires a vintage theme could work for this DIY. It’s all in what you add to it that gives it the direction.
Vintage Halloween Book Covers
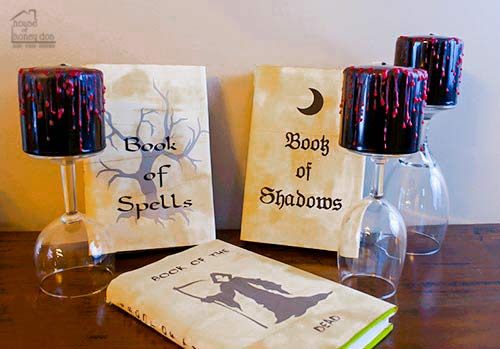
These are really simple and work with books that are approximately 8 1/2″ tall unless you have a printer that can print out magazine-sized covers. Just to give you an idea of the book sizes, two of these books are from my son’s “Diary of a Wimpy Kid” collection.
Materials Needed:
- teabags
- legal-sized printer paper
- parchment paper
- iron
- printer
- any spooky design (FYI – the designs used here are available in my gallery of printables. If you are a subscriber to my newsletter, you get access to almost 100 free printables!)
Vintage Halloween Book Covers – Instructions
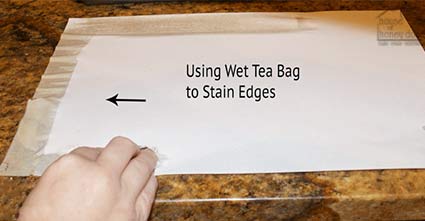
To get the variations and creases that are seen in my book covers, I start by going over the sheet with a wet tea bag. To do that, I allow a tea bag to steep for several minutes to loosen up the tannins.
Then I take the wet tea bag and, using it like a paintbrush, run over the paper in the areas where I want darker accents to appear. You can press narrow little creases in the paper as you swipe across with the teabag.
This will cause the stain will gather more in the creased area when it soaks. That is how I got those extra accents to appear. Just be careful to not rip the paper when doing this.
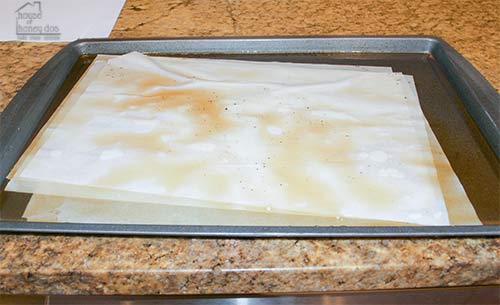
Next, I make up a small cup of strong tea. I usually just throw in 3 tea bags and let it sit for about 30 minutes. Then, I pour the tea into a large cookie sheet and soak the paper until I like the tint. Remember that it will lighten quite a bit when it dries.
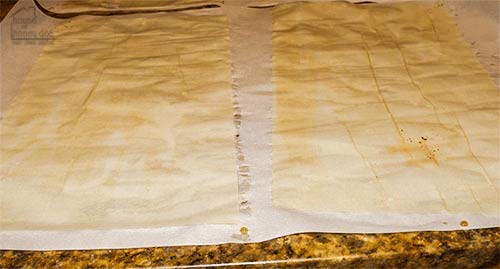
Once the color is to my liking, I very gently lift the sheets out and onto some parchment paper to dry. Make sure that it is flat without any edges folded over and let it dry overnight. Once it is dry, brush away any loose tea leaves that escaped from the bags.
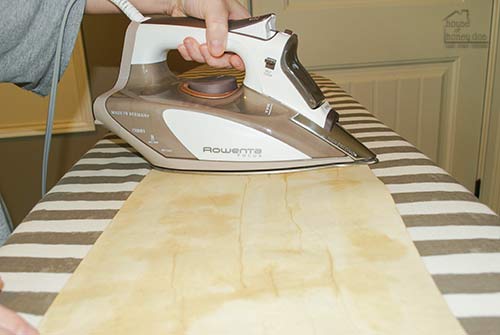
Next, I iron the paper flat. (You can really see the creases here). Ironing is very important, as the moisture will cause the paper to lose its original crispness. If you do not press it back flat, the printer will likely jam and tear up all of your hard work.
To iron the sheet, set your iron on a very low setting and press the pages until they are once again flat. Do not use steam. If you are worried about direct contact with the paper, you can use a thin tea towel. However, if you set your iron to the lowest setting and work slowly, everything will be fine.
Once flattened, I insert the paper in the printer and print out my spooky designs. That was 4 yrs ago, and I pull these out every year and reuse them. They still look great!
Final Comments:
In addition to these vintage book covers, I have a ton of other Halloween DIYs and tips! You might also be interested in these treat gift boxes that are perfect for the paper crafter, and don’t forget to check out my tips on making your Jack ‘o lanterns last until Halloween.
