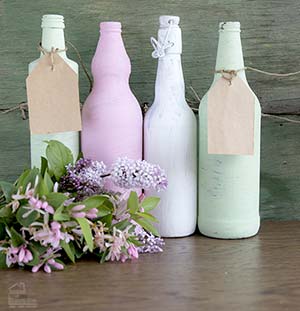
A great way to create a quick and beautiful centerpiece or vase is to recycle those old wine bottles. To do that, you just need to paint them. However, adding paint to wine bottles can be a bit tricky. But you are in luck because I have done all of the due diligence for you!
This post may contain affiliate links. (*) If you make a purchase using my links, I may receive a small commission. Please feel free to check out my full disclosure for more details.
Instructions to Paint Wine Bottles
- Step 1 – Make sure the bottle is squeaky clean. Remove all labels then, use a good grease-cutting soap (such as dawn) and wash clean.
- Step 2 – Wipe down the bottle with white vinegar to remove any soap residue that may have been left behind. Allow to thoroughly dry.
- Step 3 – Primer the bottle by spraying light coats of primer paint over the surface, allowing each coat to dry in between. Make sure to hold the spray can at least 12″ from the bottle.
Do not try to completely cover the bottle in one coat. Trying to do too much at once will result in runs.
Priming the glass is essential because without it the surface paint will not adhere to the glass very well. Priming will give the paint something to grip and will prevent unnecessary scratch marks later on.
- Step 4 – After the primer coat has dried, Spray with paint using the same light even coats. Allow drying between eat coat.
- Step 5 – After the final coat is dry, you can decorate the bottles with twine, ribbon, labels, or whatever your heart desires.
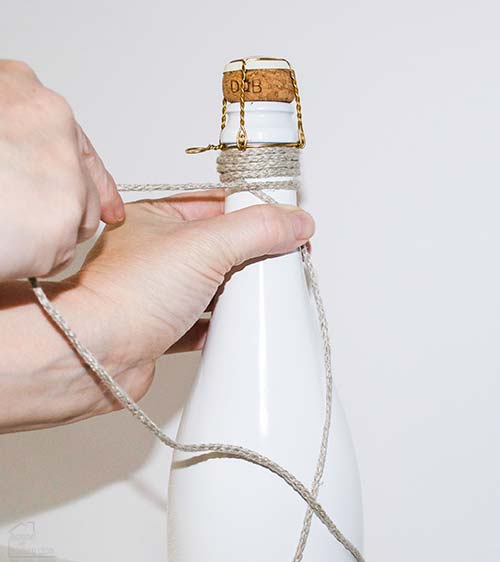
I like to wrap the necks with twine. The way that I wrap the twine is to take the strip that I want to use and hold a small length at the point where I want to start the wrap. Then, wrap the twine around and over the length.
The wrap begins at the top and ends where the tailpiece hangs free. This allows me to use the tailpiece as the other half of my bow.
Best Paints for Painting Wine Bottles
There are a lot of different brands and types of paints out there, many of which are very good. What I have found to work best for me, when painting the exterior of glass, is to use Rust-oleum Auto Primer* to prime the glass.
I have noticed that this primer really helps to hold the paint and prevent chips. After that dries, just about any paint will work. I prefer to use Krylon when I am going with spray paint.
I use Folk Art Home Decor chalk paint* when I am doing a hand paint job. It grips really well but will destress easily. Be sure to seal the glass if you plan to use it for anything other than a stay-in-place decor piece.
Spray paint will give the glass a more polished look. While hand painting looks more vintage.
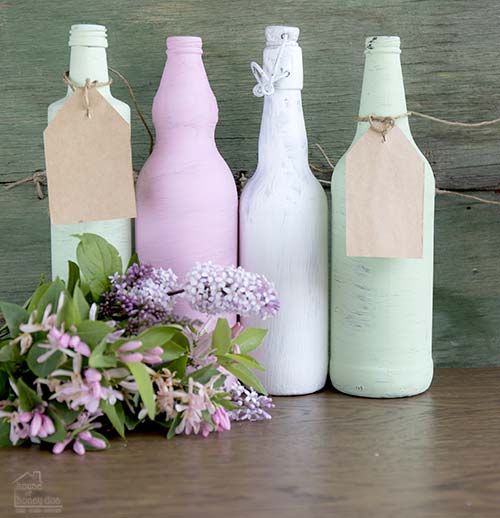
I prefer to use the chalk paints when hand-painting because it adds even more of a vintage flare. Pastels work well for spring decor, Easter and baby showers.
Personalize a Cherished Moment
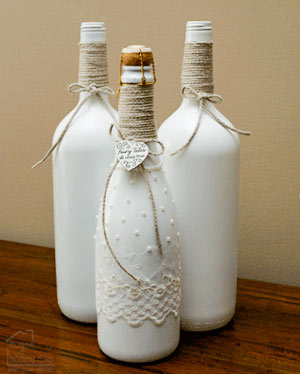
The white champagne bottle in the center is from my honeymoon. I saved it all these years and finally got around to doing something with it.
To get the same look as this bottle, I added some lace, pearls, and a charm. The lace and pearls mimic my wedding dress.
I used some glue to secure the lace around the bottle. The pearls came from Hobby Lobby. They are flat on one side and already had an adhesive, so all I needed to do was to place them where I wanted them.
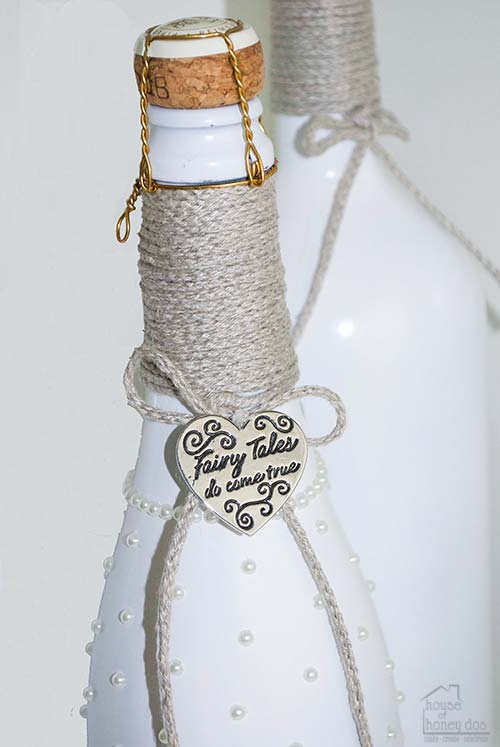
The charm I also picked up at HL. I thought it was cute and represented how I feel, so I just added it to the bow with a bit of monofilament line.
Some other good ideas would be to use a garter, or some other trinkets saved from the wedding reception, to decorate the bottle.
Final Comments
This idea would also be nice for the champagne (or grape juice) bottle saved from a child’s birth. Just decorate it with memorabilia from the first year. Add a little footprint to it, if your little one is still small enough to do that. Wow, I wish I had thought of that when my boys were babies!