Making your own books, notebooks, and binders can be a great hobby. I love to create my own customized binders and journals. However, to do so, I needed a good bookbinding press.
Unfortunately, they cost at least $100 for a cheap one, and up into the thousands for a high-quality press. Of course, being a typical DIYer, I decided to make one myself.
Turns out, it’s really easy! So, if you want to be able to create beautiful books yourself, I can show you how to make a bookbinding press for just pennies on the dollar.
Materials Needed To Make a Book Binding Press
To make this book binding press, you will need:
- 2 equally sized pieces of MDF or plywood (dimensions should be 2″ more than your largest planned book).
- 4 Bolts (I used 5″ bolts to allow for a thick book)
- 4 wing nuts
- washers
How To Make a Book Binding Press…
To begin, take the two pieces of MDF and clamp them together. Make sure that they are aligned perfectly and are held tightly.
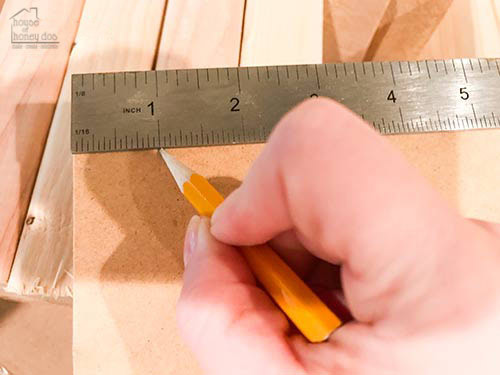
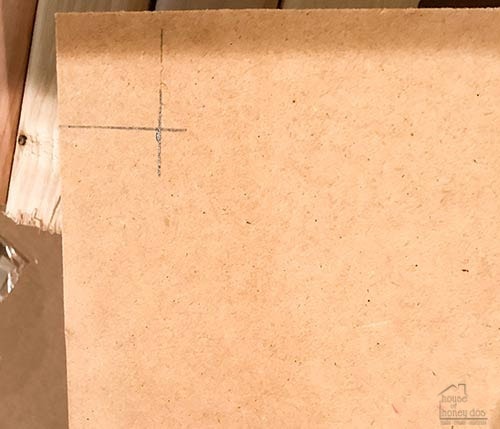
Then, you need to mark 1″ from the outer edge of one corner. Make a mark 1″ in from the other side of the same corner, so that you have a cross mark. Repeat for the remaining corners.
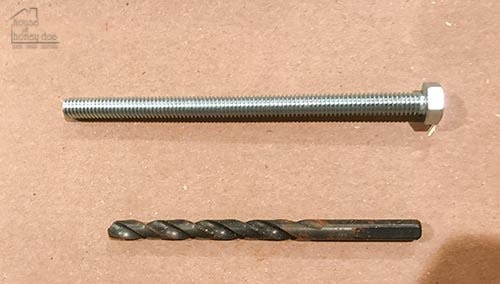
Next, you need to choose a drill bit that is the same size as the bolts that you are going to use. You want the drill to be as close to exact as possible.
If the holes are too loose, the press will shift when being tightened down. If the holes are too tight, you will have a difficult time getting the bolt through.

Next, drill four holes all the way through both boards at each of the corner cross marks. Try to get the holes centered on the cross marks. The more precise the build, the more evenly the pressure will be.
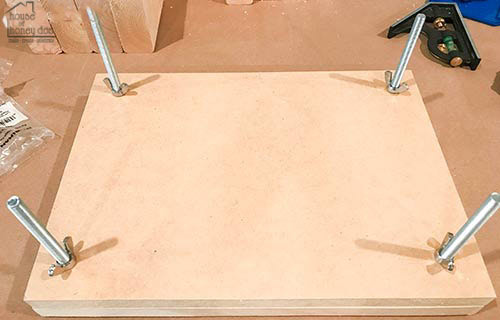
After the holes have been drilled out, insert the bolts through the washers, and then through the four holes. Flip the boards over and attach the wing nuts to the bolts.
The press can be kept flat during bookmaking, or it can rest on any of its sides. I find that turning it on its side helps when working on bindings. I then lay the press flat during the drying process.
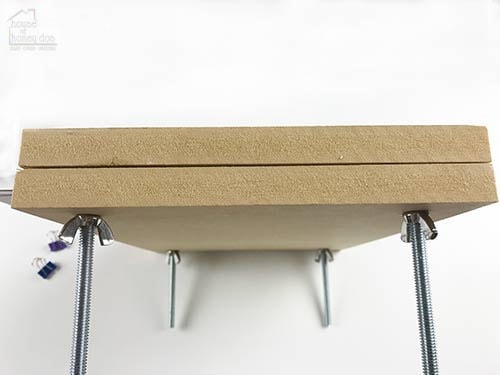
But, more importantly, is the technique for applying pressure. Uneven pressure can cause lop-sided results. Make sure that you tighten the bolts so that even pressure is being applied to all sides.
To check for even pressure, take a look at the gaps around the perimeter. They should be evenly spaced. Tighten any bolts that show a wider gap until all gaps are equal.
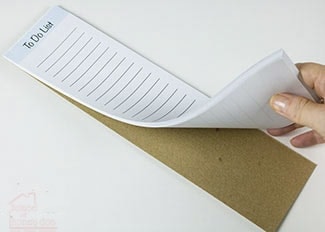
And there you have it. A simple and cheap bookbinding press. I have used mine for several projects, including making tear away notepads, like the one above, and to make journals and binders. All of which I will be bring to you soon.
If you are interested in printables to use to make your own books/binders, feel free to sign-up for my newsletter and receive access to my entire printable gallery.
Final Thoughts…
My book press has been one of the most used items that I have in my craft room. It has paid for itself multiple times over. If you plan to do any binding, while you may be able to get by without one, it certainly is well worth the effort to throw one together.