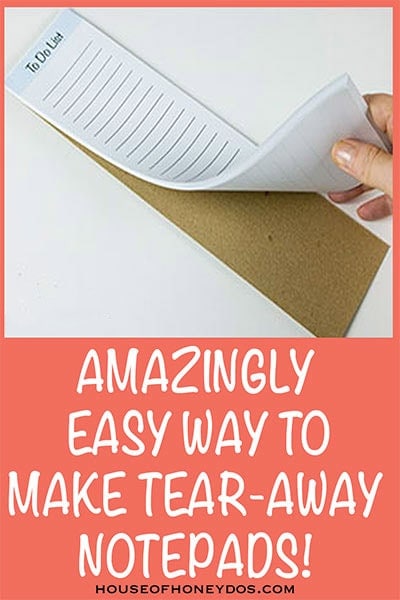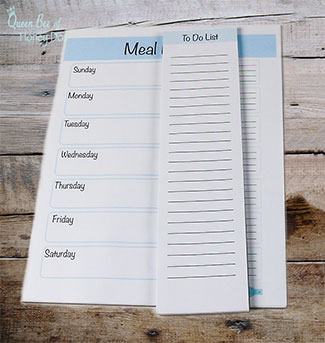
I wanted to take the time to show you a few easy craft projects that can be done with some of my free printables. So I thought, what better way to get started but to show you how to create your very own tear-away notepads. You know the kind – similar to the standard sticky notes. (minus the sticky). These DIY tear-away notepads are incredibly easy to make.
Materials Needed to Make Tear-Away Notepads
First, let’s go over the supplies that you will need. There are not very many, and luckily they are all pretty cheap.
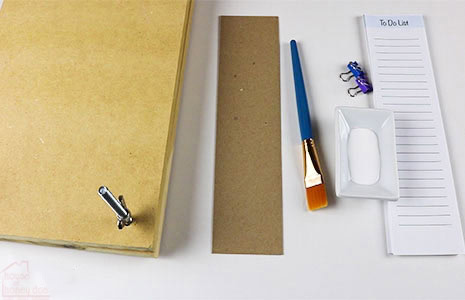
- PVA glue (you can use Elmers in a pinch, but PVA is better. I’ll provide a link below to where you can buy it).
- clips
- paintbrush (or whatever method you choose to apply the glue)
- Notepad or stationary paper of choice
- Book press – you can probably get away with just the clips for narrow notepads, but a book press will keep your notepad flat and the binding snug. See how I made my book press, here.
- Card stock or cardboard for the back
- Paper Cutter
DIY Tear-Away Notepads – Instructions

To begin, you will need to make any necessary cuts in the paper and the cardboard backing.
For my “to-do list”, I cut the printable at 2 and 13/16″ for each section. Then, I cut the cardboard to the same size. This is approximately an even 3-way divide for a standard size sheet of paper, with maybe a sliver of excess leftover.
The A5 lined paper was cut down the center, and the “weekly planner” needed no cuts.
Get all of these printables and more by subscribing to my newsletter.
Next, tap the paper and the backing so that the edges are aligned. Then, place the clips at the top edge of the paper, making sure to clip as close to the edge as possible. You want to only have a small bit protruding from the book press. Clipping too far down on the paper will hinder the press.
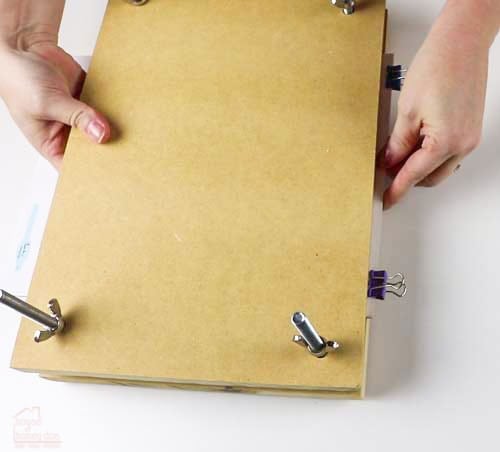
Place the aligned sheets into the book press and clamp down snuggly. Once the paper is firmly in place and the screws are tightened, you are free to remove the clips.
Make sure that you have applied even pressure with the book press.
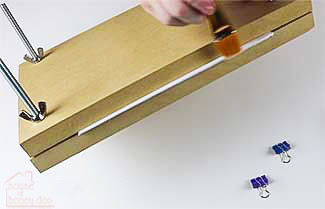
Now, apply an even layer of PVA glue along the papers’ edges. Try to put a thick coat on without so much as to cause drips. If you need to, you can apply a second coat after the first coat dries.
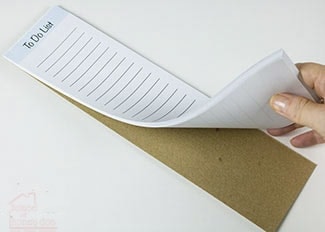
Once the glue has dried, remove the notepad from the book press and test out your new DIY, tear away, notepad! Now, isn’t that easy?
PVA glue is sold at most craft stores, but if you can not find it, you can buy it at Amazon.
Final Comments
Making tear-away notepads is one of the easiest crafts out there. With just a few basic supplies, you can have your own customized notepads for every occasion. If you enjoyed this tutorial, please share it.
