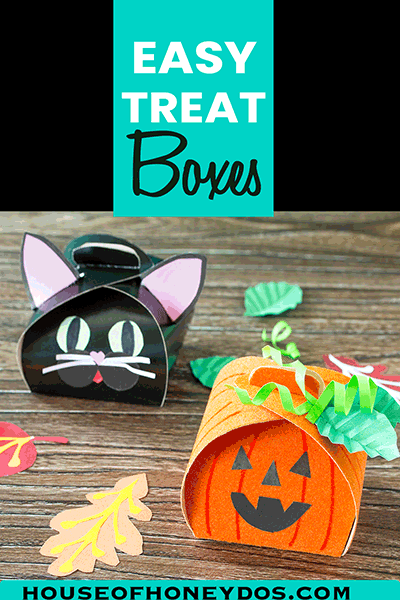
Making gift boxes is my absolutely favorite paper craft to do. With just a little bit of imagination, a simple box can be customized to fit any holiday. But, the thing that I love about these little DIY Halloween treat gift boxes is that it is the perfect craft project for kids.
DIY Halloween Treat Gift Boxes…
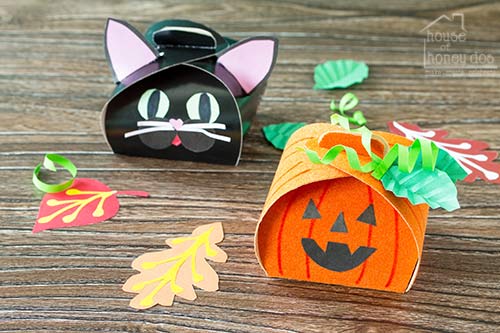
I have been busy, busy, busy getting all of my Halloween and Fall decor together. I have pulled out the spooky books from last year and have started planning Halloween treats for the holiday.
This year, I am using treat boxes. These little treat boxes are so adorable that I just had to show them to you, (and by the way, a special thanks to Elena Hramowa for the photography).
You can use them to hold Halloween goodies, or just make them for decorations. I am particularly fond of them as a Halloween party favor.
Materials Needed:
- colored cardstock or poster board
- colored construction paper
- markers
- glue
- scissors
- box template – use your own, or subscribers can use mine, located in the Free Printable’s Gallery (If you are not yet a subscriber, you can just sign up here and I’ll rush the password over to you!)
DIY Halloween Treat Gift Boxes…
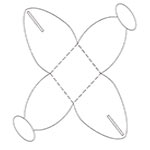
The template that I use for these types of boxes is the Treat’s Box template located in the Printable Gallery under the Boxes, Cards, & Envelope Section.
If you are new to my blog, I encourage you to subscribe to my newsletter and get instant access to the Printable Gallery.
It’s a little treasure trove of goodies that I put together to show appreciation to all of my subscribers, and I am constantly adding new printables.
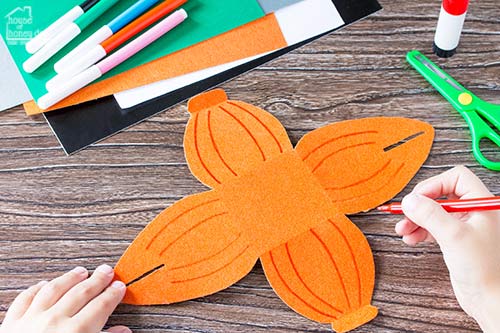
To begin making the treat boxes, trace the box template onto the backside of the card stock. Then, cut out the box, making folds where the dotted lines indicate. On the front of the card stock, you can use a marker to draw the pumpkin’s veins.
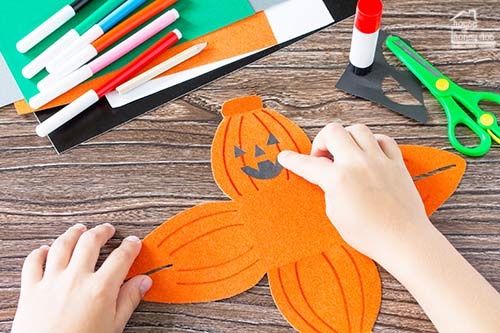
Next, use the colored construction paper to make cutouts for the face. Glue them in place and allow to dry.
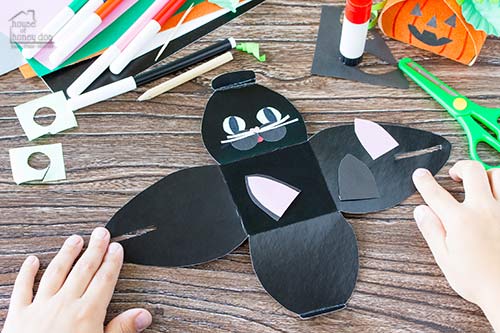
The cat treat boxes are done the exact same way as the pumpkin, so I am just showing you the semi-complete box.
The only exception is the ears, which you will want to attach after the box is assembled. But, that is all there is to these adorable boxes.
To finish, just fold the two tabbed sides up. Then, fold the slotted sides up and push the tabs into the slots.
In addition to pumpkins and cats, you can make vampires, Frankenstein, bats, and ghosts. Just change the color of the box and get creative. Enjoy!
